Give Your Old Bike a New Life
Do you love your current bicycle but wish it had a little extra power for those long commutes or steep hills? You don't need to sell it and spend over ₹40,000 on a new e-bike. Converting your existing cycle into an electric cycle is a cost-effective, sustainable, and rewarding project.
⚡ Quick Summary & Key Takeaways (2026 Guide)
- Zero Petrol Expenses: Daily running cost under 15 paise/km with high-efficiency 36V Lithium-ion technology.
- Effortless Commutes: High-efficiency 250W BLDC hub motor (25 km/h top speed) with smooth pedal assist for daily city travel.
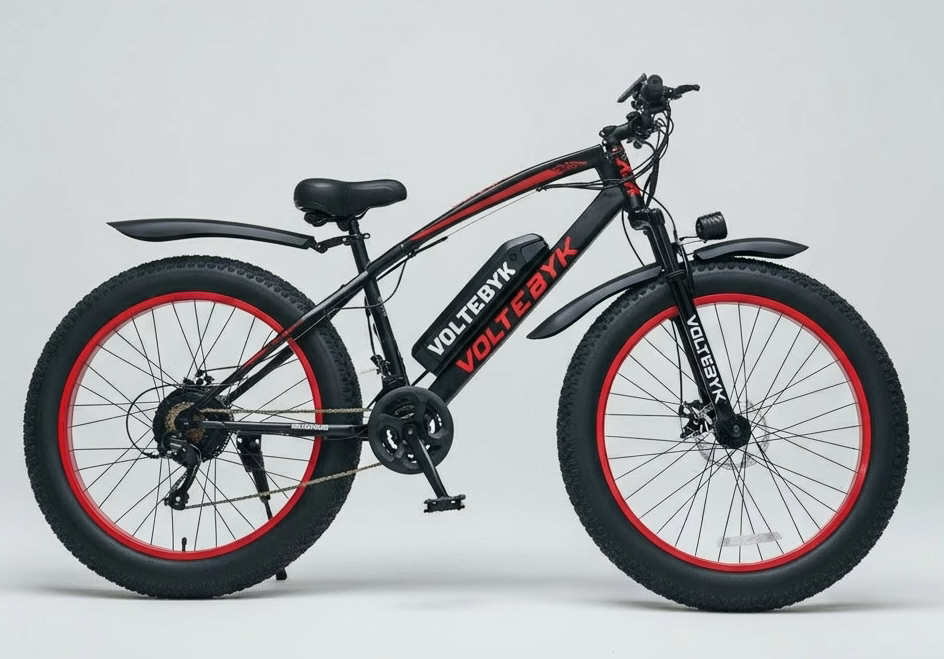
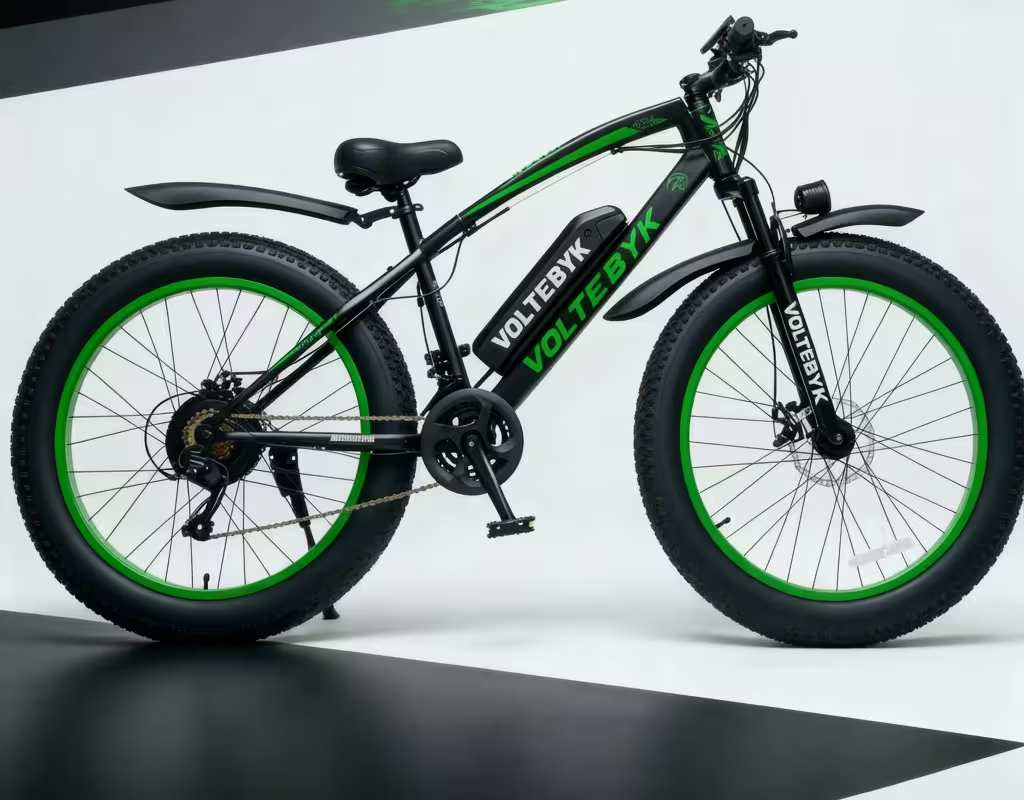
- Top Voltebyk Picks: Voltebyk Max Pro for urban commutes and Runner Pro Fat Bike for all-terrain riding.
- DIY Conversion: Electrify your current bicycle for under ₹10,000 using a Voltebyk 250W conversion kit.
Why Convert Instead of Buying New?
- Cost Savings: A high-quality conversion kit costs significantly less than a brand new e-bike.
- Familiar Comfort: You keep the frame geometry and seat you're already comfortable with.
- Customization: You choose the motor power and battery size that fits your specific needs.
Step 1: Choosing the Right Kit
The most important decision is selecting the motor type. For most Indian roads, a Hub Motor Kit is ideal due to its simplicity and durability.
Check out our range of Electric Cycle Kits to find one that fits your wheel size (26T, 27.5T, or 29T).
Step 2: Gather Your Tools
You don't need a professional workshop. Basic tools like a wrench set, screwdrivers, zip ties, and a tire lever are usually enough. If you need specific bike tools, browse our accessories section.
Step 3: The Installation Process
1. Swap the Wheel
Remove your rear (or front) wheel and transfer the tire and tube to the new motor wheel from your kit. Install the motor wheel onto your bike frame. Ensure the axle nuts are tight!
2. Mount the Battery
Secure the battery bracket to your bottle cage mounts or use a rear rack. The battery is the heaviest part, so ensure it doesn't wobble. Our Lithium-Ion batteries come with secure mounting systems.
3. Connect the Controller & Wiring
Mount the controller bag. Connect the color-coded wires: Motor, Battery, Throttle, and Display. Use zip ties to keep the cables neat and away from moving parts.
Step 4: Safety Check
Before you hit the road, double-check your brakes. The added speed requires good stopping power. Test the throttle in a safe, open area first.
Ready to Build Your Dream Ride?
Get everything you need in one box. High-performance, warranty-backed electric cycle kits.
Buy Conversion Kit IndiaFrequently Asked Questions
What regulations apply to riding a Voltebyk electric cycle in India?
All Voltebyk electric cycles are engineered with a 250W continuous rated BLDC motor and a 25 km/h top speed, adhering to Central Motor Vehicle Rules (CMVR) for standard pedal-assisted bicycles for convenient and effortless daily commuting.
What is the monthly electricity cost to charge a Voltebyk e-bike battery?
A full charge for our standard 36V 7.8Ah or 9Ah lithium-ion battery consumes under 0.4 units of electricity (costing approx ₹3 to ₹5 per charge). For a 25 km daily commute, your monthly electricity cost will be under ₹100, saving you over ₹20,000 annually compared to petrol scooters.


%20(1).avif?tr=w-1200%2Cq-55%2Cf-auto%2Cc-at_max)