The Joy of Building Your Own Ride
There's a unique sense of satisfaction in riding something you built yourself. In 2026, DIY e-bike conversion has become more accessible than ever, thanks to plug-and-play kits and extensive online resources. Whether you want to save money or simply love a weekend project, our step-by-step guide will take you from a standard bicycle to a powerful electric machine.
Why DIY Conversion Matters for Indian Riders
India is a land of ingenious "Jugaad," but when it comes to electric bikes, precision and safety are key. A DIY conversion allows you to customize your bike exactly to your needs—choosing the right battery capacity for your specific commute or the right motor torque for your local flyovers. It's also significantly cheaper than buying a high-end pre-built electric bicycle, making green mobility accessible to students and budget-conscious professionals.
At Voltebyk, we support the DIY community with high-quality components and clear instructions. We've seen incredible builds from our customers in Bangalore, Tirupati, and beyond. This guide is based on those successful conversions, ensuring you avoid the common pitfalls and get on the road safely and quickly.
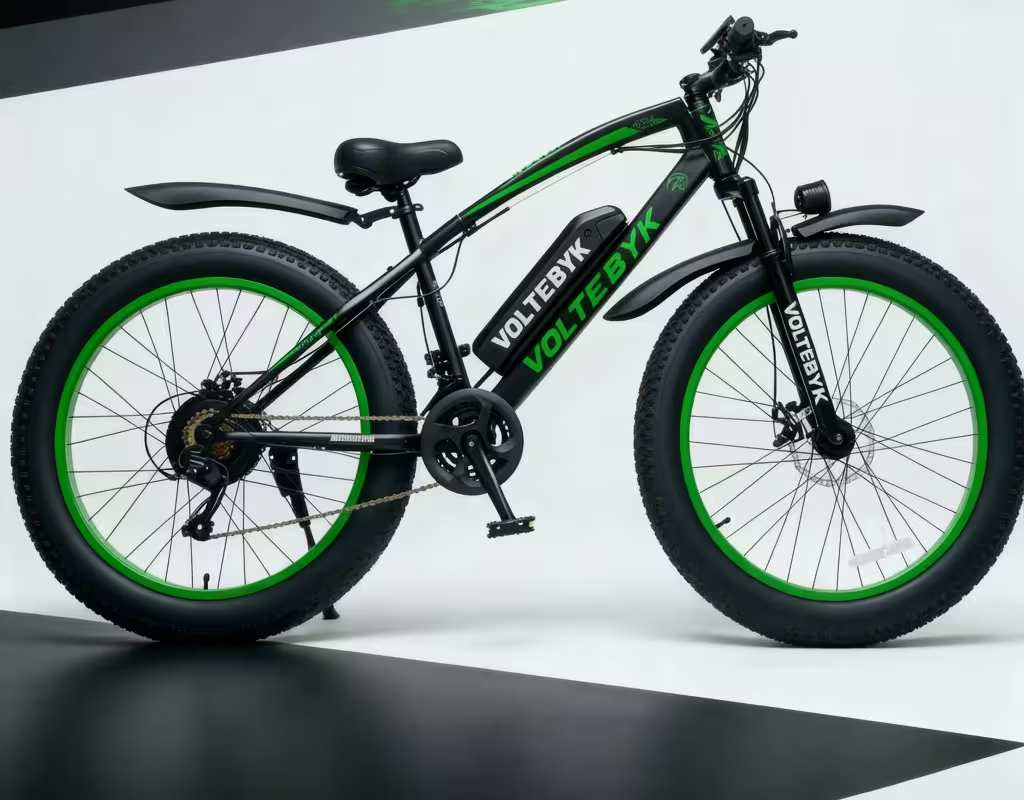
Top Voltebyk Components for Your DIY Build
Success starts with the right parts. Here are our top recommendations for beginners:
- Voltebyk 250W Hub Motor: View Motor - Reliable, efficient, and easy to lace into standard rims. Price: Rs 8,990.
- 36V 9Ah Detachable Battery: View Battery - High-quality cells with built-in BMS protection. Price (with kit): Rs 19,990.
Step-by-Step Conversion Process
Follow these steps for a successful assembly:
- Preparation: Clean your bike and gather your tools. You'll need a wrench set, screwdrivers, and cable ties. Read our pre-purchase checklist first.
- Motor Installation: Remove your existing wheel and install the motorized hub. Ensure the torque washers are correctly positioned to prevent axle rotation.
- Mounting the Battery: Install the battery bracket on your frame's bottle cage mounts. Ensure it's secure and doesn't rattle. See our battery care guide.
- Wiring the Controller: Place the controller in a waterproof box or bag. Connect the motor, battery, and throttle following the color-coded diagram provided with your Voltebyk kit.
- Handlebar Setup: Mount the throttle, display, and brake levers with cut-off sensors. Secure all wires with zip ties to keep them away from moving parts.
- Final Testing: Lift the drive wheel off the ground and test the throttle. Check all connections and bolts one last time.
Frequently Asked Questions
Do I need to be a mechanic to do this?
Not at all! If you can fix a flat tire or adjust your brakes, you have enough skills to convert your bike. Our blog is full of tips for beginners.
Can I revert the bike back to a regular bicycle?
Yes, the conversion is completely reversible. You can remove the kit and reinstall your original parts at any time without damaging the frame.
Ready to Start Your Build?
The satisfaction of your first electric-assisted pedal is just a few hours away. Grab a Voltebyk conversion kit and start your project this weekend. If you get stuck, our support team and local dealers are always here to help. Join the DIY EV revolution and build the ride of your dreams today!